|
|
Personalized Grandma Bib in Retro Style:
Photos and instructions for this cute bib have been provided by Ms. Mary Catherine from Tampa. Thank you so much for the lovely project and VERY detailed instructions!
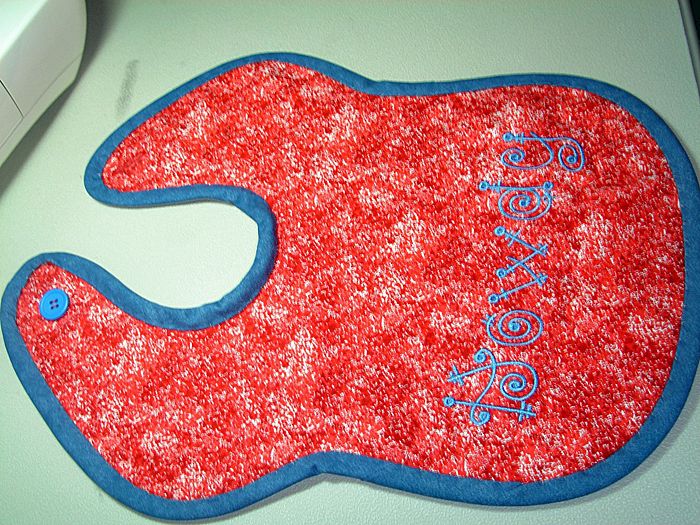
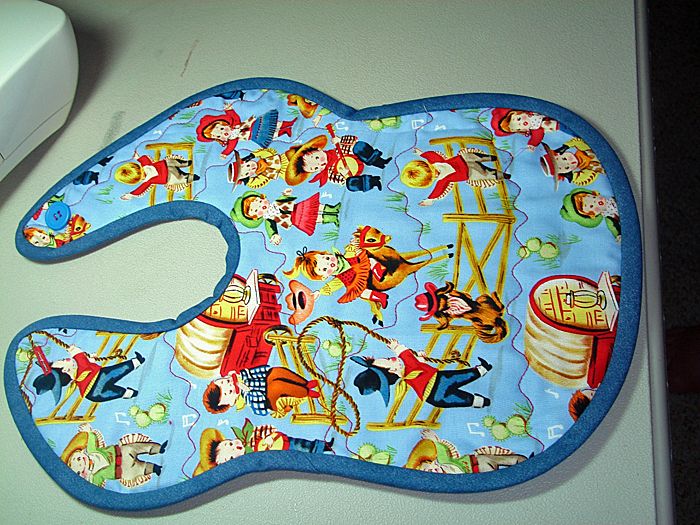
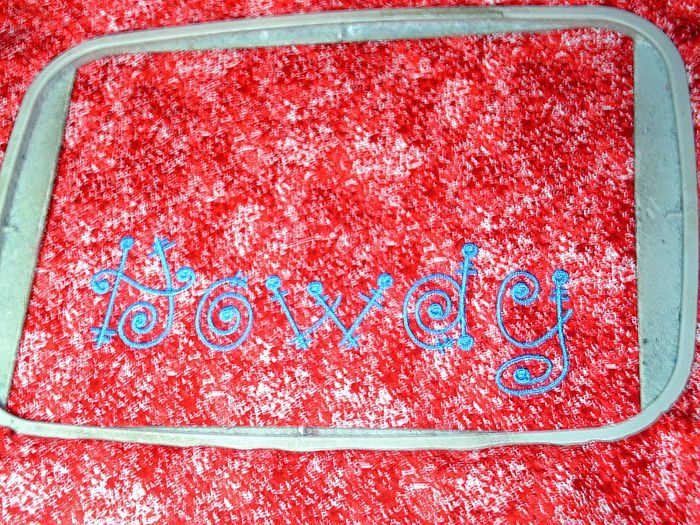
The bib is reversible. On it's front side it has the name Howdy embroidered on it, and on the other side it's quilted with Retro style fabric. The embroidery was done using the Fairy Tale alphabet. Scroll down to see close-up photos, and read instructions for this project:
Suggested project materials list:
2 fat quarters, in coordinating fabrics
(or 2 pieces of coordinating, washable fabrics, each approximately 18" x 22")
fabric for bias binding (approx. 2.5" x 50")
cotton batting, 18" x 22"
cotton thread for construction and quilting
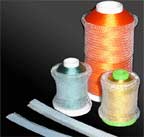
embroidery thread
stabilizer(tear-away or cut-away)
2 large buttons, same size (approx. 3/4" or 1"; shirt-style buttons - either 2-hole or 4-hole; NOT shank-back buttons)
bib pattern of your choice
Equipment and supplies:
sewing and embroidery machine, with buttonhole foot
scissors
pins
needle for hand sewing
Optional:
walking foot
quarter-inch foot
shank spacer (do-it yourself with a Timtex scrap; cut the scrap about 1" long x 1/8" wide)
Step-By-Step Instruction:
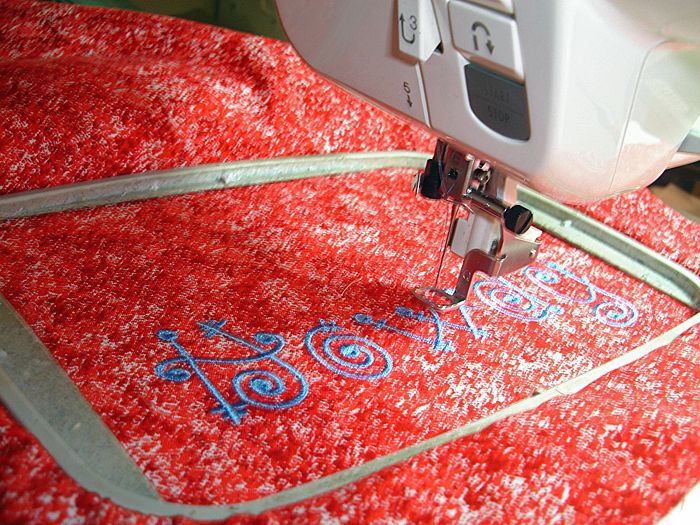
1 - Hoop one of the fat quarters, including stabilizer. Attach to machine and embroider an appropriate saying or name. Recommended embroidery placement is bottom center. (Hint: Preview the placement by laying the bib pattern on the fat quarter.)
2 - Unhoop the embroidery; trim jump stitches and cut or tear away stabilizer from back.
3 - Create a "quilt sandwich" by layering quilted fat quarter (right-side down/wrong-side up), batting, and coordinating fat quarter (wrong-side down/right-side up). In the sample, a retro buckaroo fabric was used with a coordinating red "splatter" fabric as the foundation for the embroidery. (Splatter fabric is ideal for messy bibs.)
4 - Quilt the "sandwich" using your favorite quilting method. In the sample, an elongated wavy stitch was used (something like this: ~~~~~). A walking foot is preferred for quilting but not absolutely necessary on this small project.
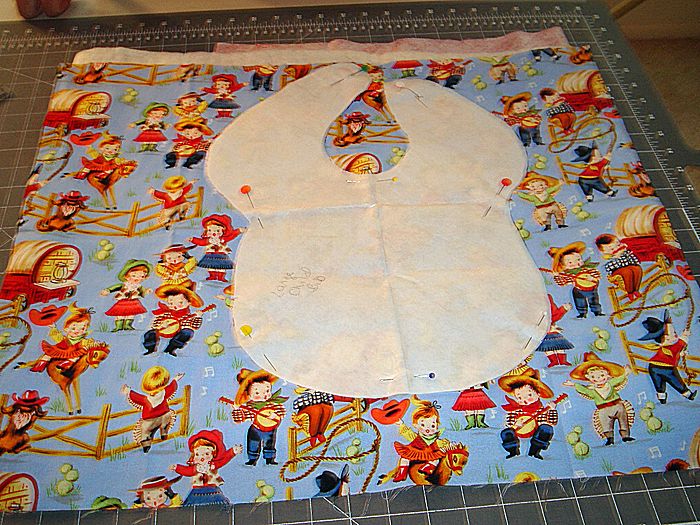
5 - After quilting, pin a favorite bib pattern on the "sandwich". As the bib pattern is pinned, be mindful of the embroidery placement.
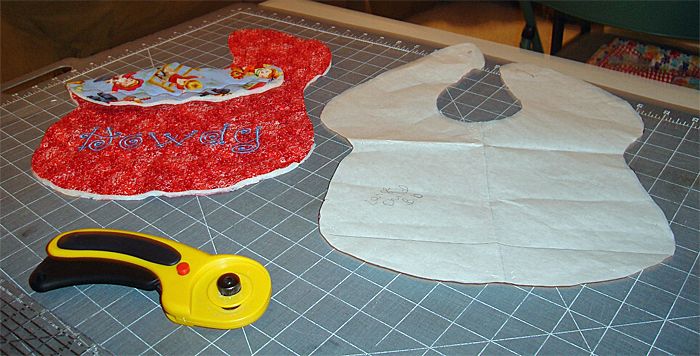
6 - Carefully cut out the bib. Set aside a quilted scrap or two.
7 - Attach buttonhole foot and make a practice buttonhole in quilted scrap. Cut open and test by passing button through the hole. After successfully sewing and opening a practice buttonhole, stitch a buttonhole on one half of the bib's neck.
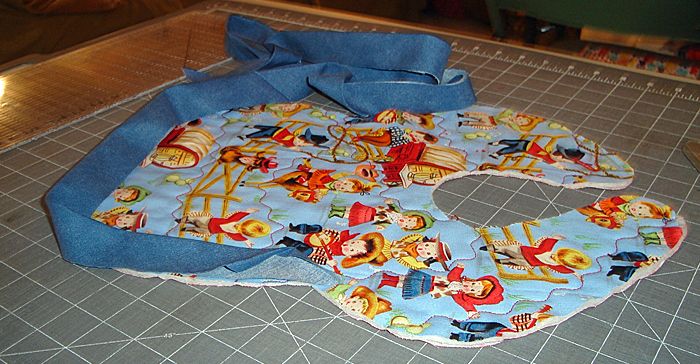
8 - Attach the binding using your favorite method. Method shown was created by folding wrong sides, press. Pin binding to bib; starting at a long, straight edge (i.e. not at tight curves like the inside neckline.) Using a quarter-inch foot, stitch binding around edge of bib; leaving the first few edges of the binding unattached. E-a-s-e around inside and outside curves. Stop sewing several inches before the starting point of the binding; make sure the needle and presser foot remain down. Open the loose edge of the beginning binding (where the sewing started) and tuck the binding ending inside. It may be necessary to trim the ending. The binding should overlap itself slightly. Finish stitching. Ready!
Hints:
A - Bias binding is required because of the curves in the bib. It does require more fabric than binding cut on the grain, but the bias enables easing during stitching.
B - At the beginning of the binding, fold a slight (1/4") edge inside. This prevents a raw edge from showing when the end of the binding is tucked inside.
9 - Clip and grade seam allowance, especially around curves. Press. Fold binding completely over the other side of the bib. Press other side. Stitch binding in place on reverse side by hand (as done on the sample) or by machine (a zigzag or wavy stitch is recommended; it requires less precision).
10 - Place the buttons on the opposite side of the neck (i.e. if the buttonhole is on the left side of the bib's neck, then the buttons will be on the right side of the bib's neck). In order to make a reversible bib that's comfortable for baby, the buttons should be secured with a thread shank. Similar to the "quilt sandwich", make a "button sandwich": button face down, shank spacer, bib, shank spacer, button-face up. By hand, sew through the "button sandwich" once; then test the spacer by moving it slightly back and forth. (Hint: The test is to make sure the thread has NOT stitched through the spacer.) If the spacer has been caught, cut the thread. Sew another practice stitch and test again. After a successful test, finish sewing the buttons in place; then remove the spacers out from under each button. Wrap the needle and thread around the thread holding the button in place. Repeat for other button. Secure thread and cut.
Hint: Please use a thread shank. If a thread shank is not used, then the buttons may be sewn too tightly to the fabric. It will make buttoning difficult, even impossible. More importantly, it will be uncomfortable for baby. Please do NOT use shank-back buttons: it's uncomfortable for baby, too. Of course, the bib can be made with just one button, but then it's not reversible - and what fun is that?)
Here is a link to get the Fairy Tale alphabet used in this project.
Tips:
1. If you want to use more than one letter to make a monogram, like in this project, you may want to align and join them into a single file using your embroidery software. It's easier than aligning each one separately using the paper template method. So if you manage to keep within your largest hoop - go for it. To learn joining designs in embroidery software, click here...
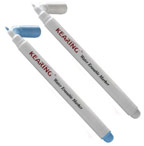
2. If your fabric pieces are too small, too delicate, too slippery or too fat for hooping, you may hoop only a piece of cutaway backing, spray temporary adhesive spray on it, then stick the fabric in appropriate spot and embroider whatever you need to embroider. To get some cutaway backing and temporary adhesive spray, please visit our stabilizers section...
|
Click to view this project in printer-friendly PDF format
Or, if you prefer to save the PDF to your PC instead of printing it right away, do the following:
1. Point your mouse curson on the red link.
2. Click on your right mouse button.
3. When a small menu pops up, select the "Save Target" option.
4. Save the file to your PC, to a place you are aware of.
|
|
|
|