|
- Hoop fabric & heavy-duty water-soluble stabilizer together.
- Embroider the first thread, and remove the hoop (without unhooping).
- Using your very sharp appliqué scissors, cut out only the fabric holes (the stabilizer shouldn't be cut - it stays).
Use tiny scissors with curved edges in order to "catch" the fabric layer at first, without damaging the water-soluble backing.
- Embroider the rest of design (it will cover all edges nicely).
- Wash away the water soluble in warm water. Cutwork ready!
Detailed Directions:
-
Hooping the background fabric & water-soluble stabilizer:
Make sure you've pre-shrinked the fabric. When hooping - be sure there are nothing stretched, and nothing is puckering/bubbling.
Large hoops sometimes don't hold the fabric well enough. If your hoop has such tendency, insert a piece of paper towel between rings of all 4-hoop sides, when hoping your future cutwork.
Don't forget to hoop the water-soluble backing - it should go under the fabric, as 2-nd fabric layer.
-
Embroider the first thread. For the first thread, any light color will do, because it will be hidden under
the main design later. Finished result should look like this:
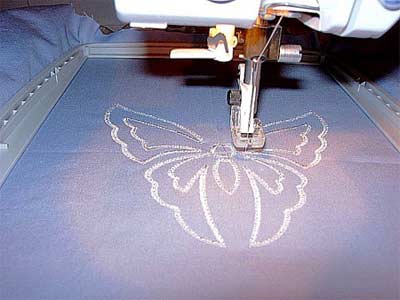 When machine stops (first color change), remove the hoop from the machine (do NOT unhoop).
-
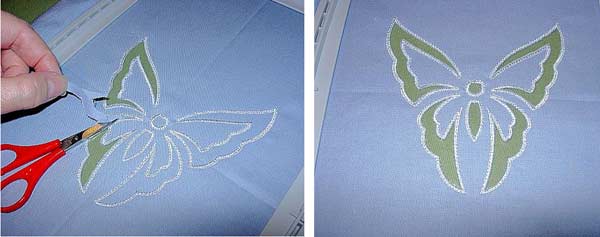
Using your sharp appliqué scissors cut out only the areas designed to be holes.
The stabilizer shouldn't be cut - it stays. Use tiny scissors with curved edges in order to "catch" the
fabric layer at first, without damaging the water-soluble backing. Then, continue cutting with appliqué
scissors.
The cutting should be done to the very edge of embroidered area. Cut to the point you can possibly cut,
without damaging the stitches. Here is how the results of this step should look like:
-
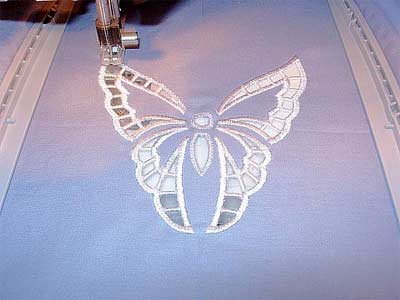
Embroider the rest of design (it will cover all edges nicely). See photo in process:
-
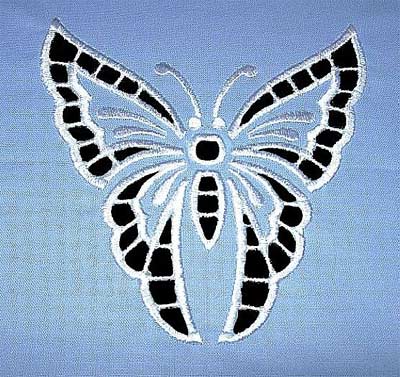
Wash away the water soluble, following manufacturer instructions.
Cutwork ready! Here's how lovely the finished butterfly looks:
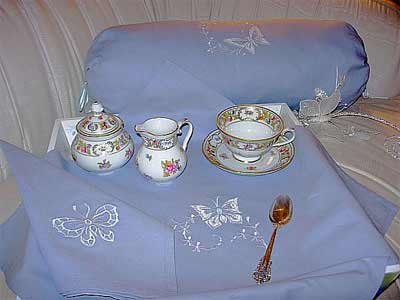
And here's a photo of ready projects - all constructed and photographed by Bobbie Berry.
The photo shows food tray cover, napkin and neck relaxation pillow, embroidered using
cutwork butterflies.
You may find these cutwork designs, and many others, in Cutwork Designs category of our web site.
If you'd like to get cutwork designs, stabilizer or thread used in this project -
please visit these links:
Cutwork Designs
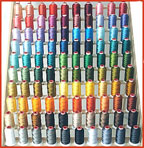
Machine Embroidery Thread
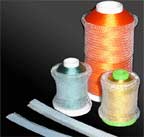
Water-soluble stabilizer
<-Back to the main menu
|