|
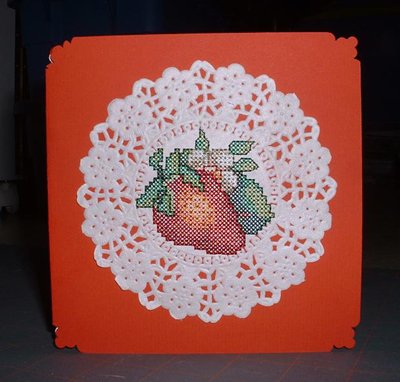
This very original project has been emailed to us by Marie Claude Goulet from Ste-Luce, Canada. Marie Claude made a
very special embroidered postcard with Strawberry machine cross stitch designs, craft paper and lovely light paper coaster.
Marie Claude used a paper coaster for making the postcard, but bear in mind that you can use the same technique with any decorative
paper that is too light for embroidering on it alone.
Below you'll find a detailed instruction, kindly provided by Marie Claude. And here's how the finished postcard looks:
Supplies:
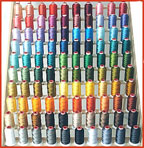
Strawberries machine cross stitch designs
Embroidery thread in suitable colors
A plain red card, or a 10" x 5 1/2" piece of card stock
4 1/2" diameter paper doily
A piece of 9 1/2" x 5" heavy white paper
Double sided tape (or white craft glue)
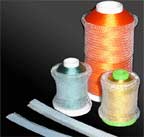
Cutaway embroidery stabilizer
Temporary Adhesive Spray
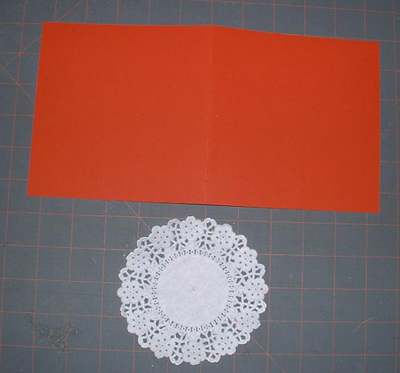
Step 1
Pick or make a red card 10" x 5 1/2" and use a 4 1/2" diameter paper doily.
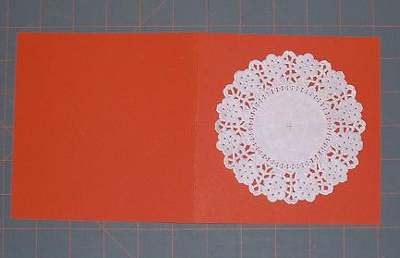
Step 2
Trace a very light and small cross in the center of the doily. Spray temporary adhesive to the back of the doily and place it on the center of the front of the card.
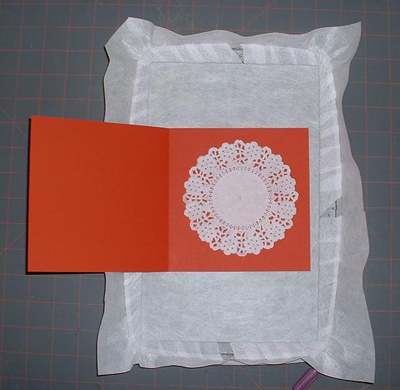
Step 3
Hoop cutaway stabilizer in a hoop big enough for the card to lay flat. Spray temporary adhesive on cutaway stabilizer, and place the front of
the card in the center of the hoop. Make sure that the doily is located exactly in the middle of your sewing field.
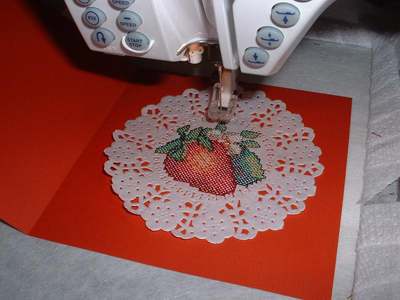
Step 4
Embroider perfectly centered strawberry design on the card. For this project I choose Strawberry Jam Jar Topper #2 in 14 count, and skipped the first 2 threads (2 circles around the strawberries).
Step 5
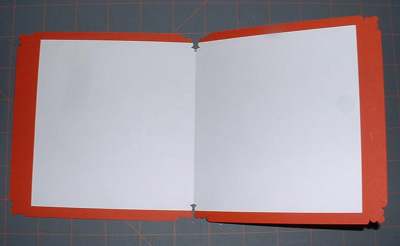
Remove the stabilizer from the hoop, cut away the stabilizer around the design leaving about 1/4". Cut a heavy white paper piece of
9 1/2" x 5" and stick it inside the card, using double-sided tape or craft glue. Make a fold in the center, exactly over the one on
the card. You can embellish the corners of your card using a decorative corner cutter. Now write something nice inside the card!
If you'd like to get some of the supplies used in this project - please visit these links:
Strawberries machine cross stitch design
Embroidery thread in suitable colors
A plain red card, or a 10" x 5 1/2" piece of card stock (available in any office supplies store or craft shop)
4 1/2" diameter paper doily (available in most supermarkets)
A piece of 9 1/2" x 5" heavy white paper
Double sided tape (or white craft glue)
Cutaway embroidery stabilizer
Temporary Adhesive Spray
<- Previous
1
2
3
4
5
Next ->
|