|
You may embroider our patch-type designs directly on the garment, omitting the first thread,
OR create easy to attach standalone patches, following the instruction described below.
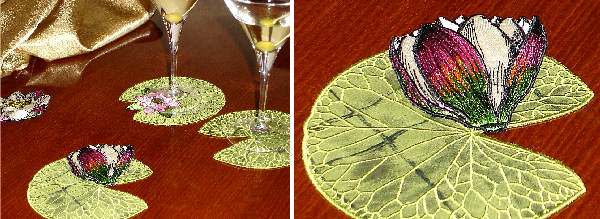
The beauty of patches is that you don't need to hoop your projects precisely, and you can use the patches
as stand-alone creations. For example - imagine how gorgeous a dinner table would look, decorated with
standalone water lily leaves and water lily patches are just lying there on a table. Take a look at these
photos:
Read through this small tutorial to learn creating embroidered patches. Making machine embroidered patches
is more than easy. We've included photos and step-by-step explanations using actual example, to help you
get started.
Required Materials & Tools:
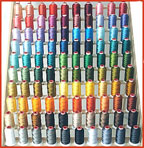
- Patch-type machine embroidery designs.
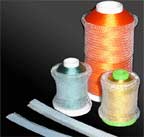
- Water-soluble stabilizer.
- Temporary adhesive spray for machine embroidery & appliqué.
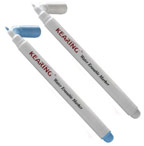
- Quality scissors with long, sharp edges ("appliqué" scissors are readily available in most sewing centers and craft shops)
- Pay attention at photos below, to see how they look. The curve on handles is important, because it makes the scissors a lot more convenient for precise cutting.
- Lightweight, non-fraying and easy to cut fabric, that will serve as basis for your patches. You may use many different types of fabric for this purpose. Organza may be a good choice, for example.
General Suggestions:
- Print thread & fabric change list of specific design you're going to stitch.
- If you intend to use fabrics that may have tendency to shrink, wash it, applying
the same conditions that you intend to use for it's laundering later on. This will
preshrink the fabric, and prevent lots of troubles with fabric puckering.
- Iron all fabrics you're going to use for your project.
- Avoid using very slippery fabrics, at least at the very beginning. Later you'll
know to deal with them, too.
- Avoid using easily fraying fabrics. If you have no choice - eliminate fraying by applying "No Fray Spray" on it.
Main Steps (Patch-making Technique Summary):
- Hooping water soluble backing (alone).
- Marking the future patch contours, using embroidery machine and very first thread of patch type design.
- Applying temporary spray adhesive on hooped soluble backing, inside the embroidered outline.
- Positioning a piece of base fabric over the hooped WSB (water soluble backing), sewing it on (second design thread) and cutting the excess edges.
- Embroidering the rest of design, following thread change list.
Next ->
|